Screenshot! A super time saver!
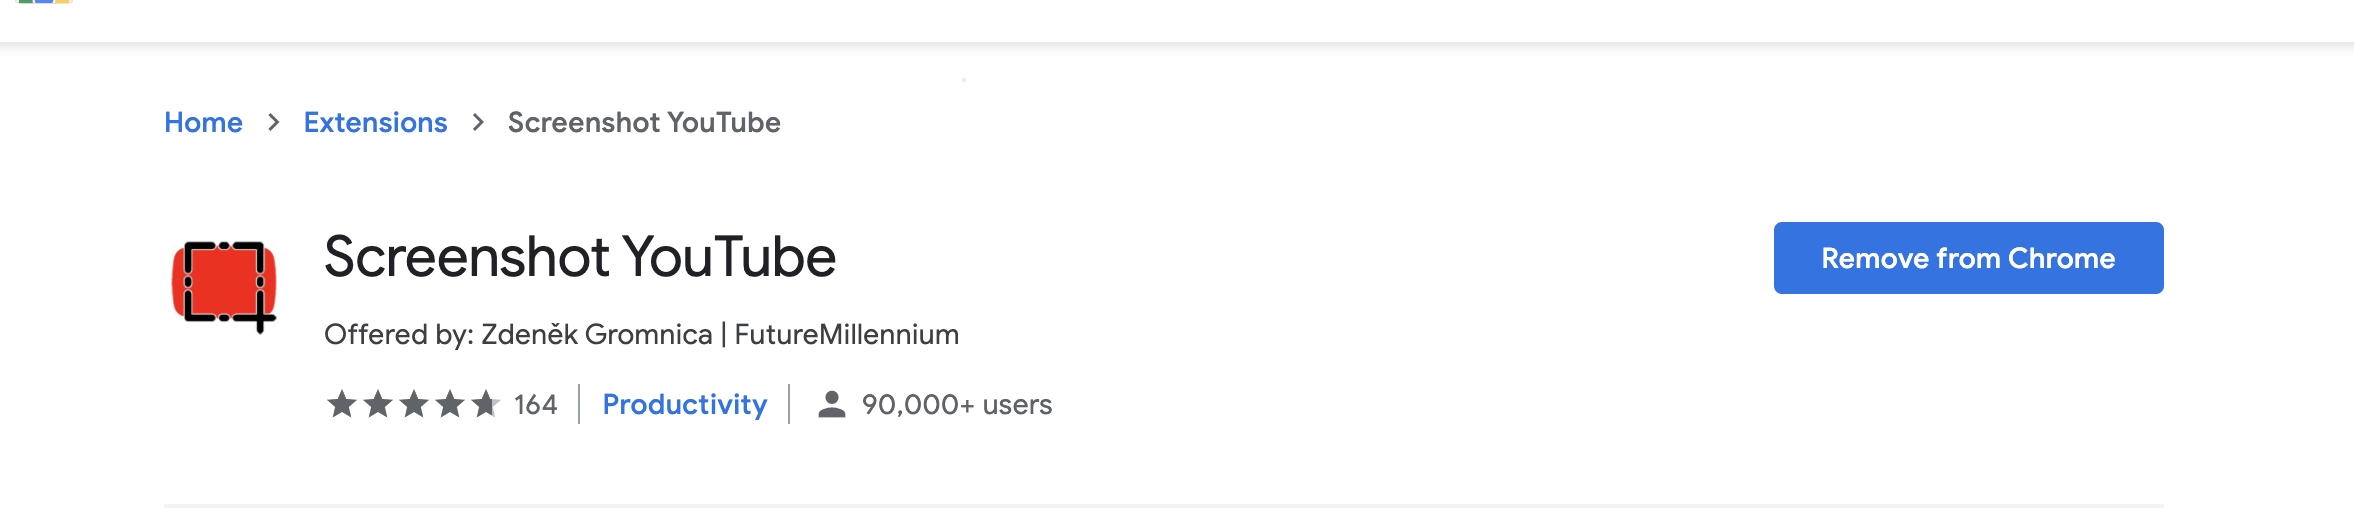
Y’all… one of my absolute FAVE tech tools is Screenshot YouTube. It is the first Chrome extension I talk about in my course, and honestly, I wanted to cry the first time I used it because I couldn’t believe the time I had previously waisted, clipping, snipping, and painstakingly screenshotting each part of a clip I wanted to use for a Clip Chat. Now, some teachers prefer to just pause and play a short video like Hair Love (and it is actually my preference too) but others much prefer showing kids “screenshots” of the clip so they don’t whine as much with all the pausing and playing! Even if I prefer to just pause and play, I STILL need screenshots for all the follow up reading and writing extensions!
Here is a reel I just finished about this amazing tool.
The first step is to “add” it to your chrome from the Google Chrome Webstore.
Step 2:
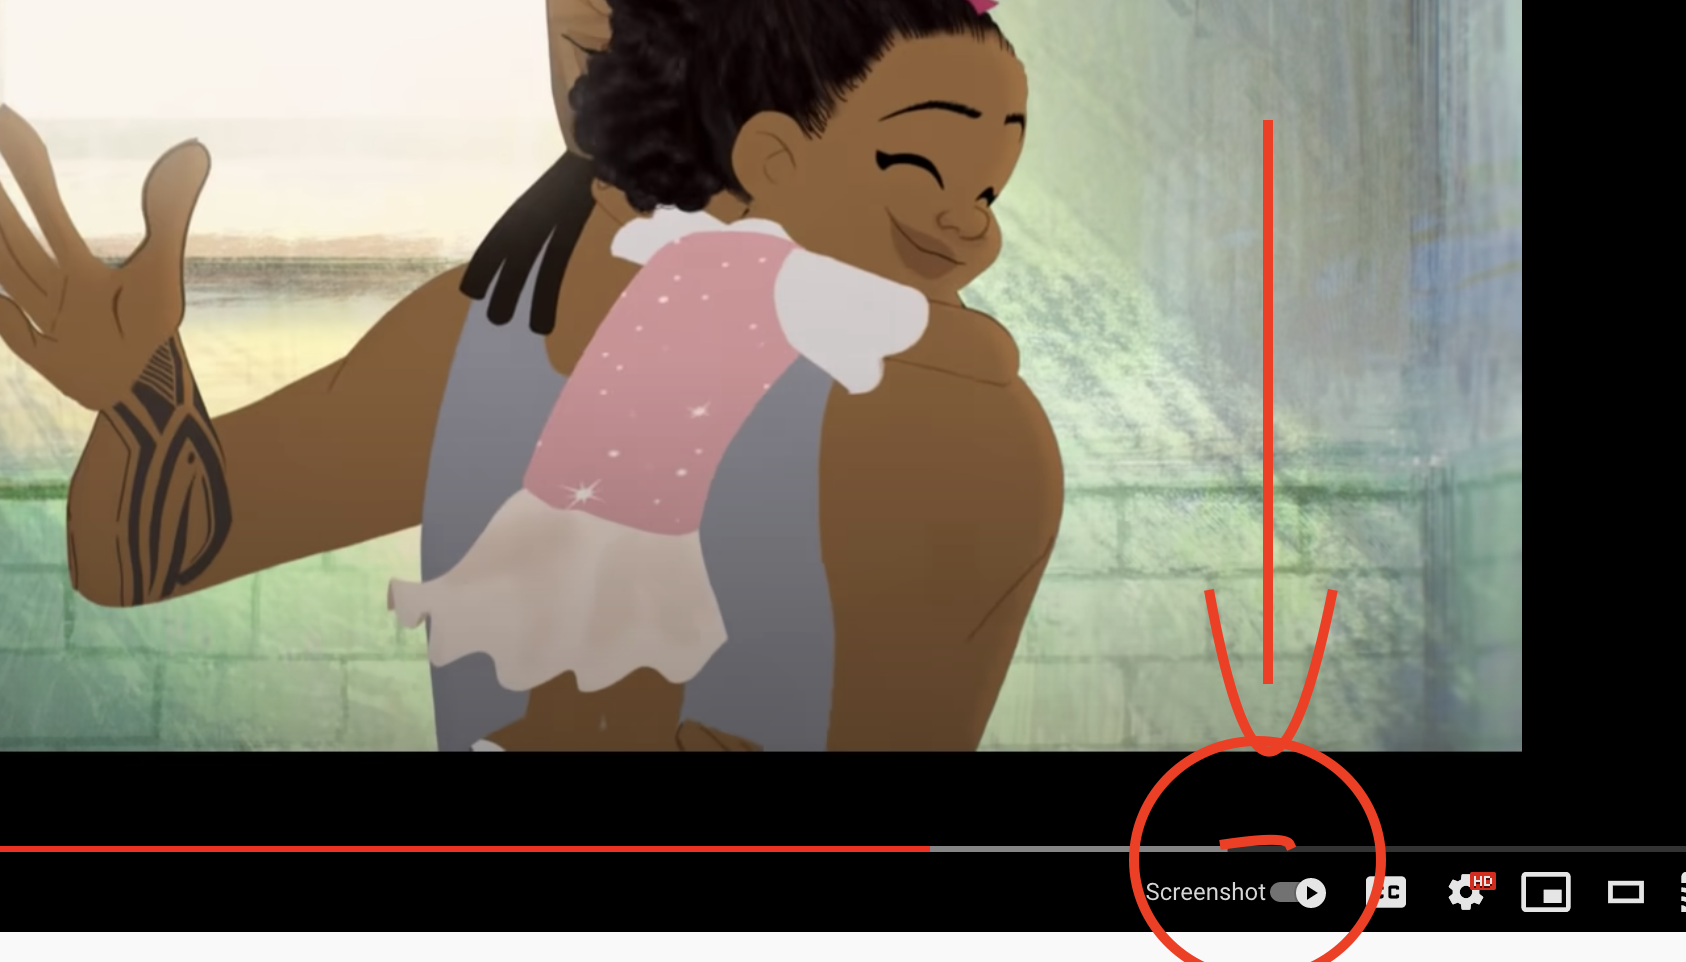
Go to the YouTube video you want to work with, and hit play. Then push the “screenshot” button as frequently as you want on the moments you want to “capture” as the clip plays!
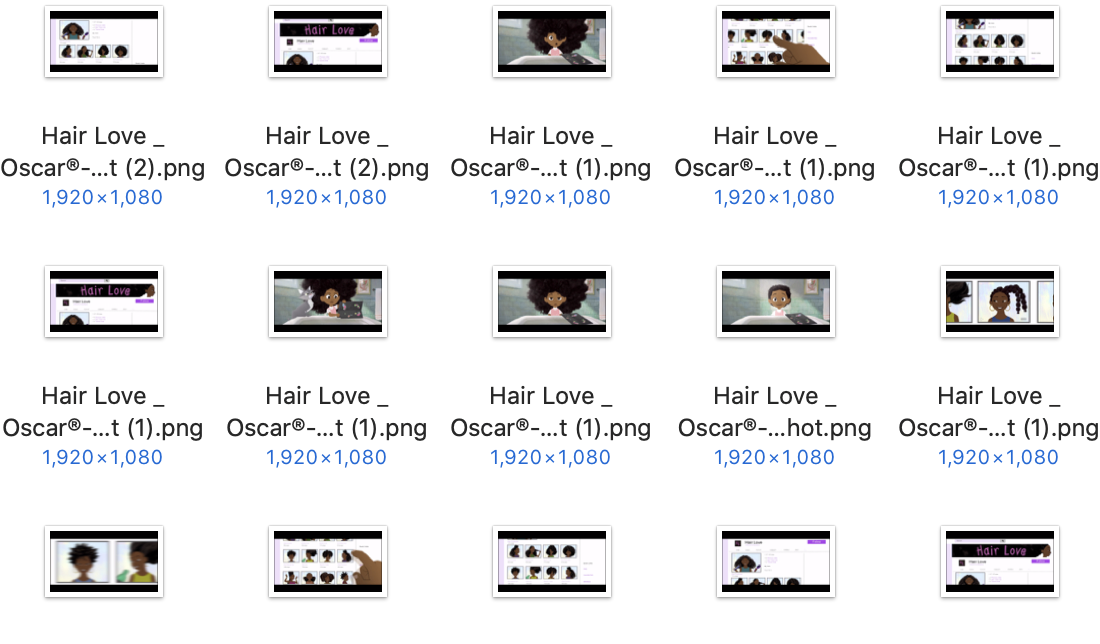
Step 3: Find all the screenshots in your downloads…
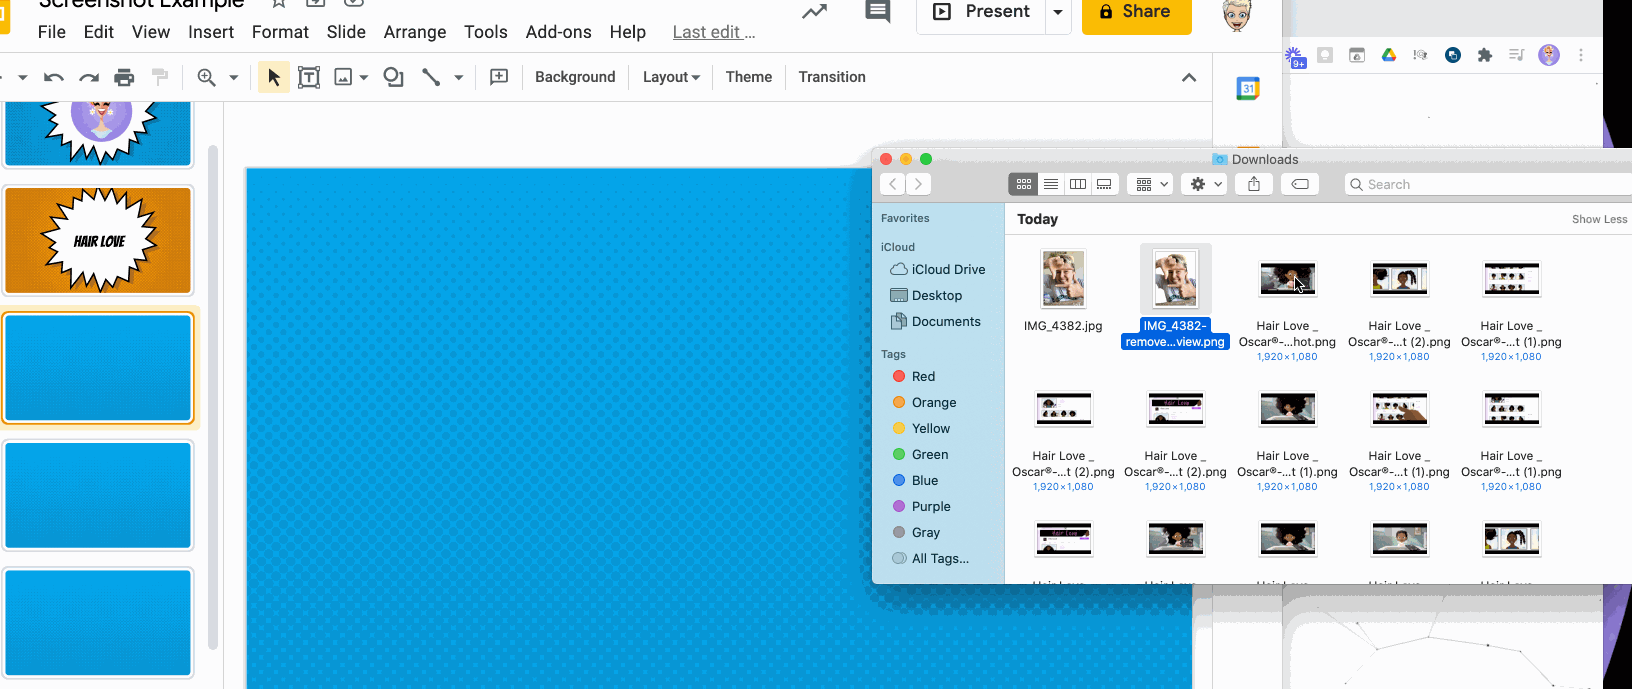
Step 4: Simply drag those straight into a Google Slide show!
It is literally as SIMPLE as that! Isn’t that incredible!?
I know! Shout out to Diane Neubauer and her genius mind and giving heart for sharing this one with me!
Until next time,
Stay happy, stay safe, stay sane!
and HAPPY TEACHING,
Love,
La Maestra Loca

I LOVE this Chrome extension; it has saved me so much time. If you want to save even more time, here is a quick way to get all of your newly created screenshots into a Google Slides presentation:
(It looks a lot more complicated than it really is; I promise!)
To quickly create a Google Slides presentation with all of the screenshots:
1. Get the Google Slides add on “Slides Toolboxâ€
2. Once you have created your screenshots from YouTube, open the add on.
3. Select “Import Tools†and scroll down to select “Create slides from imagesâ€
4. Select “Single Image†and check the box for “Set as Slide backgroundâ€
5. When you click “Nextâ€, you choose “Upload†and “Select files from your deviceâ€
6. Select all the screenshot.png files you created and click on “Open†and “Uploadâ€
7. All the different images will now populate on the slides to create a slides presentation of your YouTube screenshots
Thank you for always having such great ideas and inspiration!!
Yes! My friend does this! The slides toolbox has yet to work for me though ðŸ˜ðŸ˜ðŸ˜
I’ll keep trying !!! 🙌ðŸ¼ðŸ™ŒðŸ¼ðŸ™ŒðŸ¼
I’ve tried this numerous times and mine only seems to get the last shot I did. Any pointers?
seriously? Going to try this right now!!!
YAYYY
This has been a true lifesaver!! I used this all last school year. I’m hoping you can help. I just tried using the screenshot in Youtube and a box pops up asking me where to save it. Last year, it automatically saved. It’s annoying and wastes time when it asks me every single time where I want to save the screenshot. Plus I am missing the next shot I want to take because I’m having to take time telling it where to save. Any suggestions? Thanks a bunch!!
whaaaat?! I’ve never heard of this… someone else had troubles with it the other day and it was a different issue…. Maybe they’re fixing bugs??? I would report it to them! I am so sorry I don’t know!!!
I figured it out. Well, I didn’t actually figure it out on my own. I googled it. It was in my Chrome settings. Crazy!! I didn’t change settings so I don’t know how that happened unless it was done automatically with an update.
WOW! That is WILD! Thank you for coming back to tell me what it was! It may help someone else!